2.28.2011

I'm back!

Hello my lovelies! I've missed you guys!
I spent last week at the annual convention and trade show for Wedding & Portrait Photographers International. It was an AMAZING learning experience for me, and I am so so thankful for everyone who made it possible for me to leave my family (for the first time!) and travel to Las Vegas for 5 days.

I attended classes taught by some amazing photographers including Becker, Jim Garner, Kevin Kubota and Jesh De Rox. We brutalized ourselves at the trade show, saw Cirque Du Soleil's "O" (breathtaking!!!) and made time to photograph the city a couple times. We did a LOT of walking, which was perfect because I ate a lot of great food. (I literally ate guacamole every single day I was there.)

Wanna see a few photos from my week? Too bad, here they are anyway.....
Click to make them bigger and more awesomer.


2.18.2011

Procrastinating

I should be packing for my trip next week (more on that later) but I'm finding it hard to get to it. I blame my ADD.

So, just a picture or 2 today.


This child is giving me puppy eyes in hopes I will fill all those liners with cupcakes for him.


2.15.2011

Sugar Cookie Truffles


The third treat I made for the party were these amazing sugar cookie truffles. Now I've made Oreo truffles and every kind of cake ball you can imagine, but never thought to make these. I saw this recipe over at Cookies and Cups and got all kinds of excited. Jack LOVES cake and cookie truffles, (let's face it, who DOESN'T) and I know he'd be stoked on these.

Ingredients
1 16 oz. package of sugar cookie dough
2 ounces of cream cheese, room temperature
4 oz white melting chocolate OR 1 cup white chips
1 Tablespoon shortening
sprinkles for garnish

Directions
1. Bake cookies according to package directions until CRISP and cool completely. (You will likely have to cook them a little longer than the package instructs.)

2. Add the cookies to a blender or food processor and process until the cookies are fine crumbs. Add cream cheese and process until they begin to hold together. (You can also do this part by hand, which is what I did. It was messy but it worked. The mixture is going to feel a little dry, which is OK.)

3. Line a cooled baking sheet with wax or parchment paper. Roll dough into 1 inch balls and place on sheet. Freeze about 20 minutes.

4. Melt white chocolate and shortening according to package directions. Dip each ball into melted chocolate and add sprinkles while wet.

5. Allow to dry completely before storing, covered, in the refrigerator.
Adapted from Nestle


I'm linking to these Rockin' Parties
Anything Related Tuesday at All Thingz Related
Letting the Tuesday Creative Juices Flow at These Creative Juices
Show Me What Ya Got at Not Just A Housewife
Whats Cooking Wednesday at Not So Homemade
Cheap Thrills Thursday at Black Cat's Design

2.11.2011

Happy Friday!

This weekend is going to be BUSY. My mister and I are celebrating our wedding anniversary tonight (We got married the day after Valentines day.) Im excited to go out and enjoy a night as adults! My mother in law is staying with the boys until tomorrow morning.
We've already been threated about coming home pregnant. As in don't.

The rest of the weekend includes Nathan's first hair cut, a photoshoot, and LOTS of baking. I booked several orders for custom Valentine treats so I'm really excited about that. One of them was picked up earlier this week for a pregnant mama on restrictions. Wanna peek?

 Devils Food Cupcakes with Peanut Butter Buttercream
and a handmade dark chocolate heart

 Ready for Pick-Up!


And yesterday, I got a suprise in the mail! The Lucious Lacey (ya like that?) from Our Life: Narrated By Lacey. Sent me this box full of awesome clothes for my Nathan.
THANK YOU LACEY!!!!!!!!!
Don't know Lacey yet? Hop to it my friends!


2.07.2011

Birthday Cake Fudge


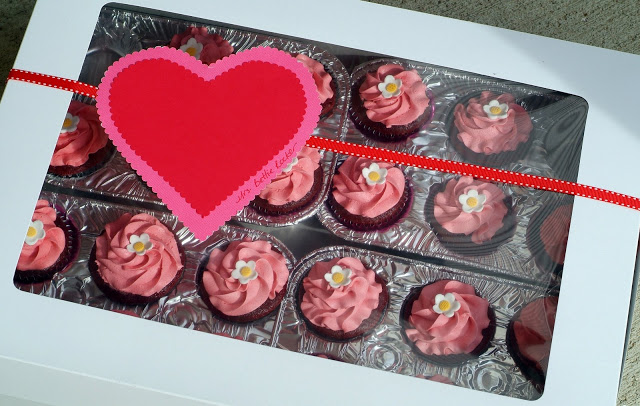
When Jack asked to have his birthday party at the bowling alley, I was simultaneously thankful and bummed; all I was allowed to bring was cake and ice cream to the alley.
After I cooked myself crazy for 3 days and spent every night for 2 months crafting for Nathan's First Birthday  in November, and then cooking and crafting in secret before throwing Bill's surprise party in December I was kind of glad for the break.
Then, when the boys and I got sick with a week long flu just before Jack's birthday, I was left with zero time and energy to work on the party. Two days before I had to push. I found this recipe in my reader from Confessions Of A Cookbook Queen and knew I had to add this to my list of treats to make.
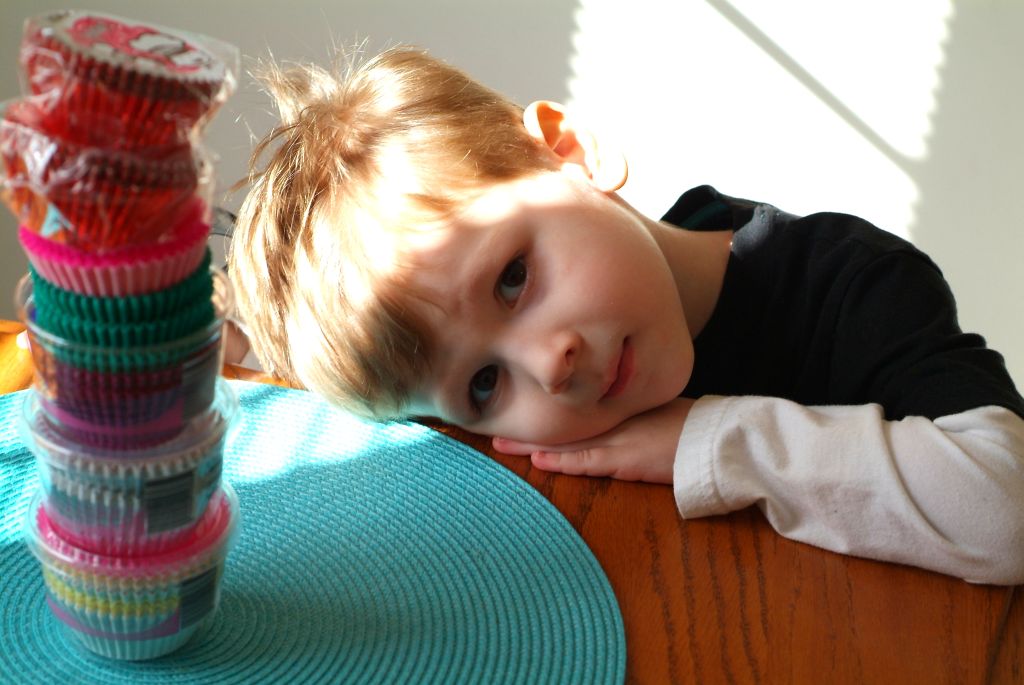
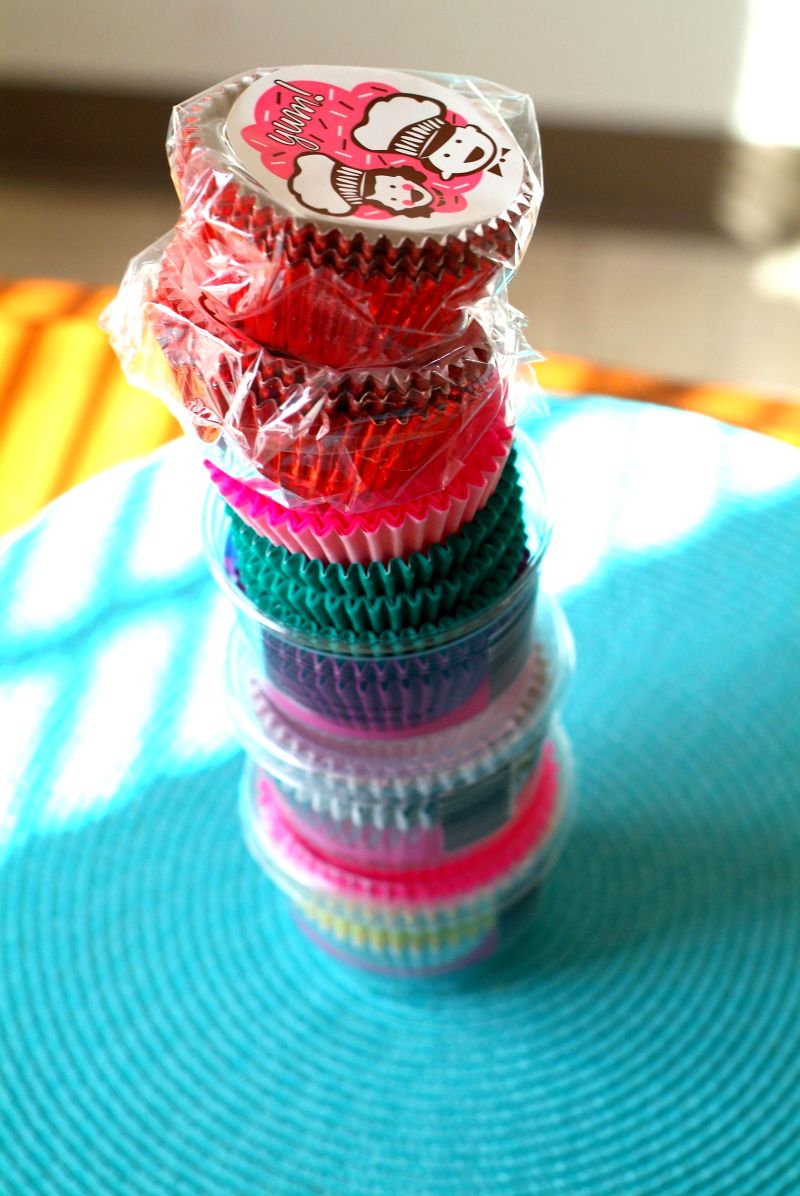
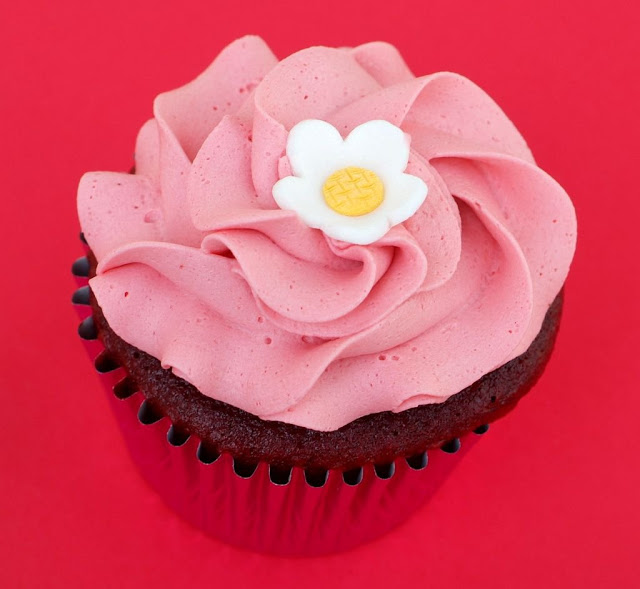
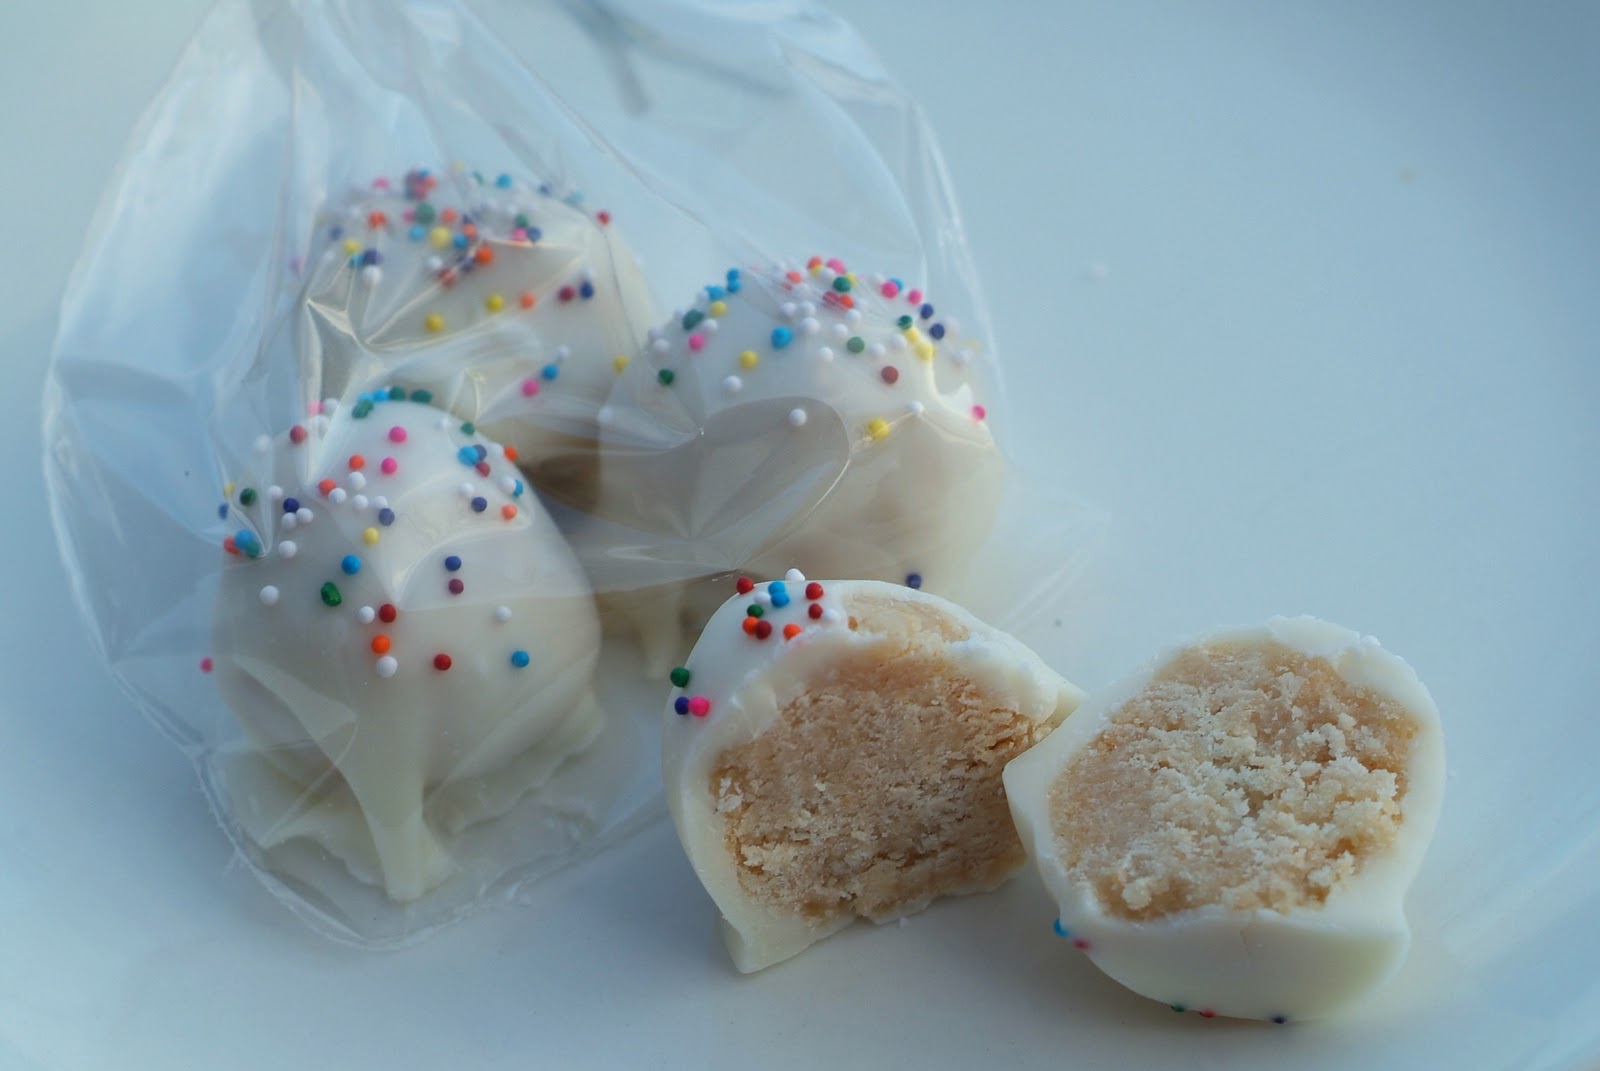
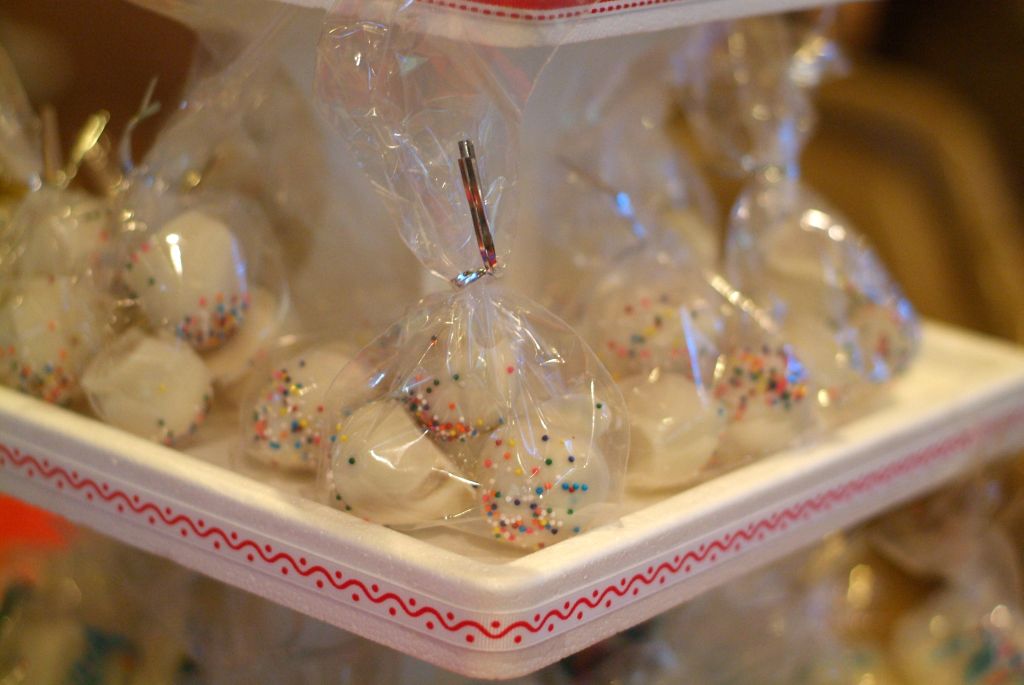
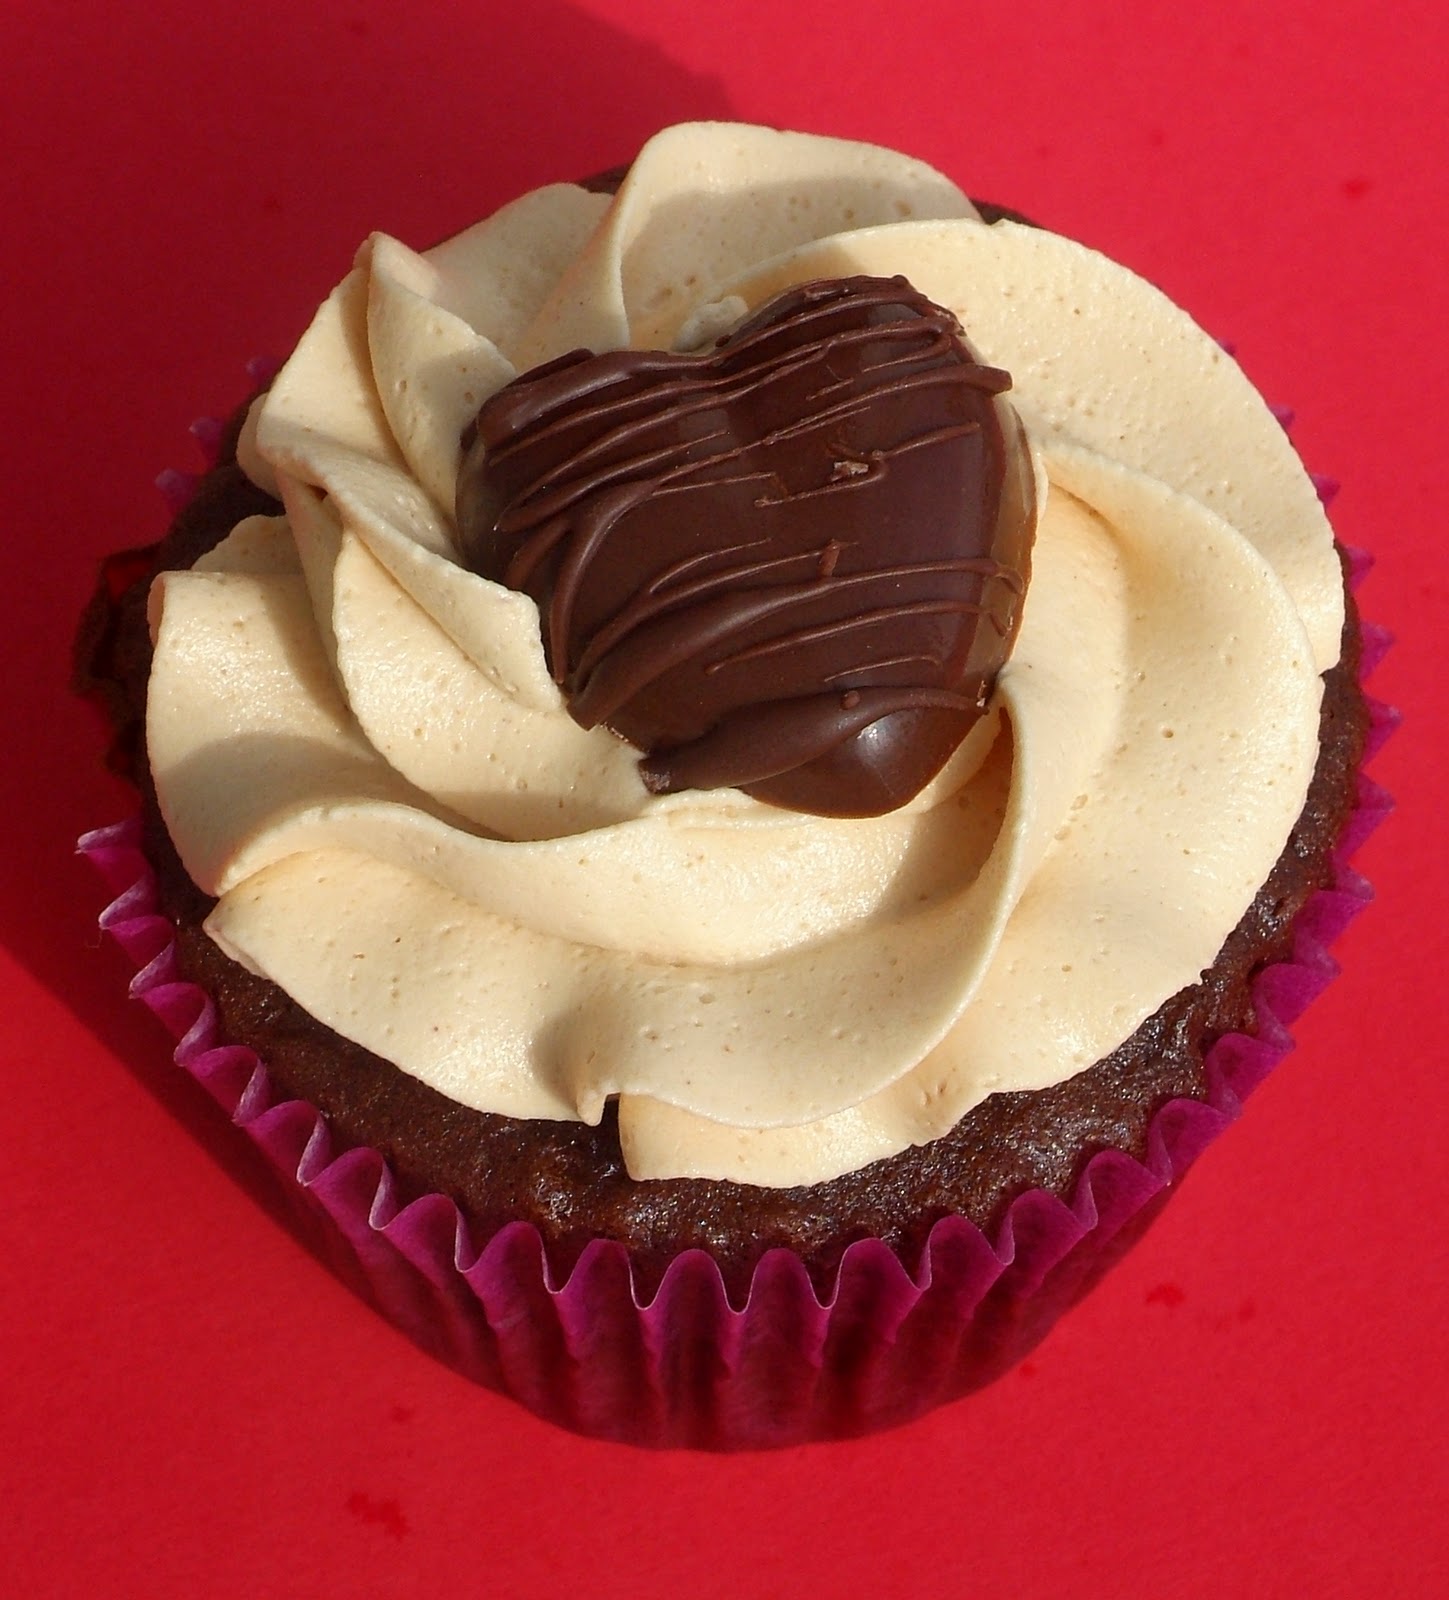
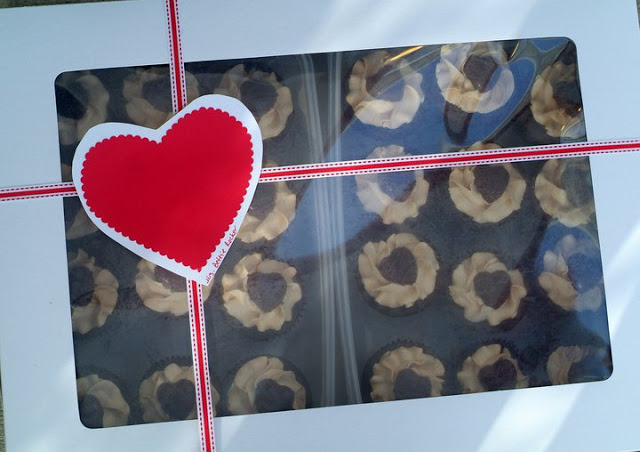
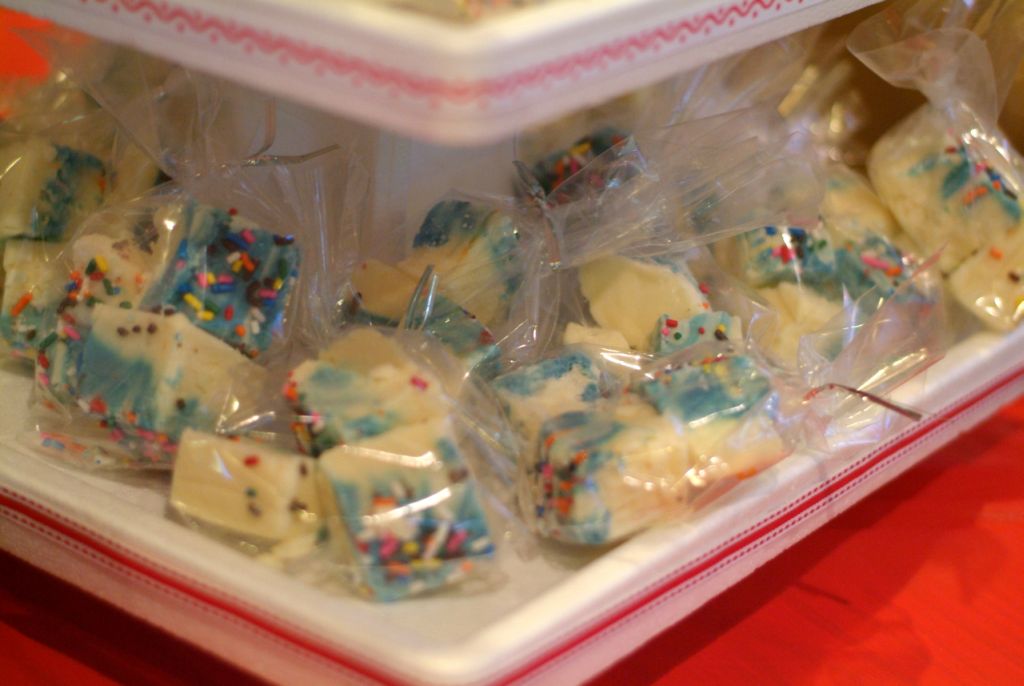
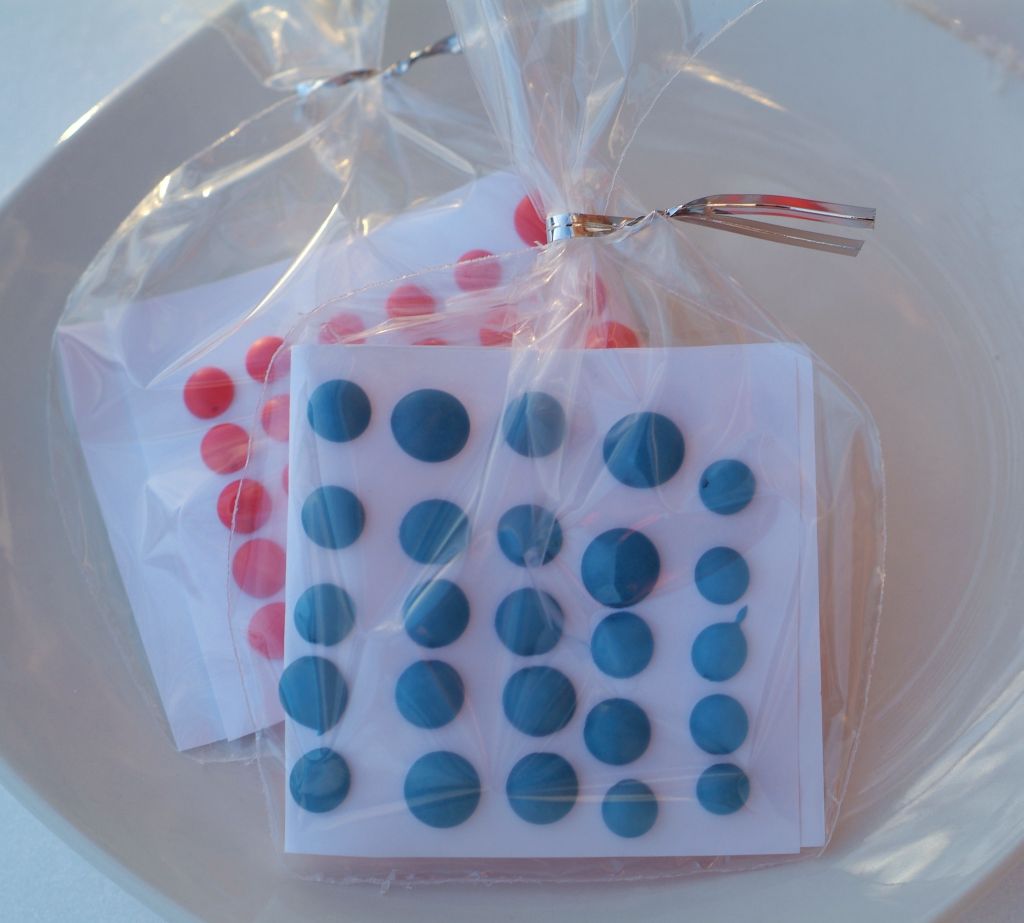
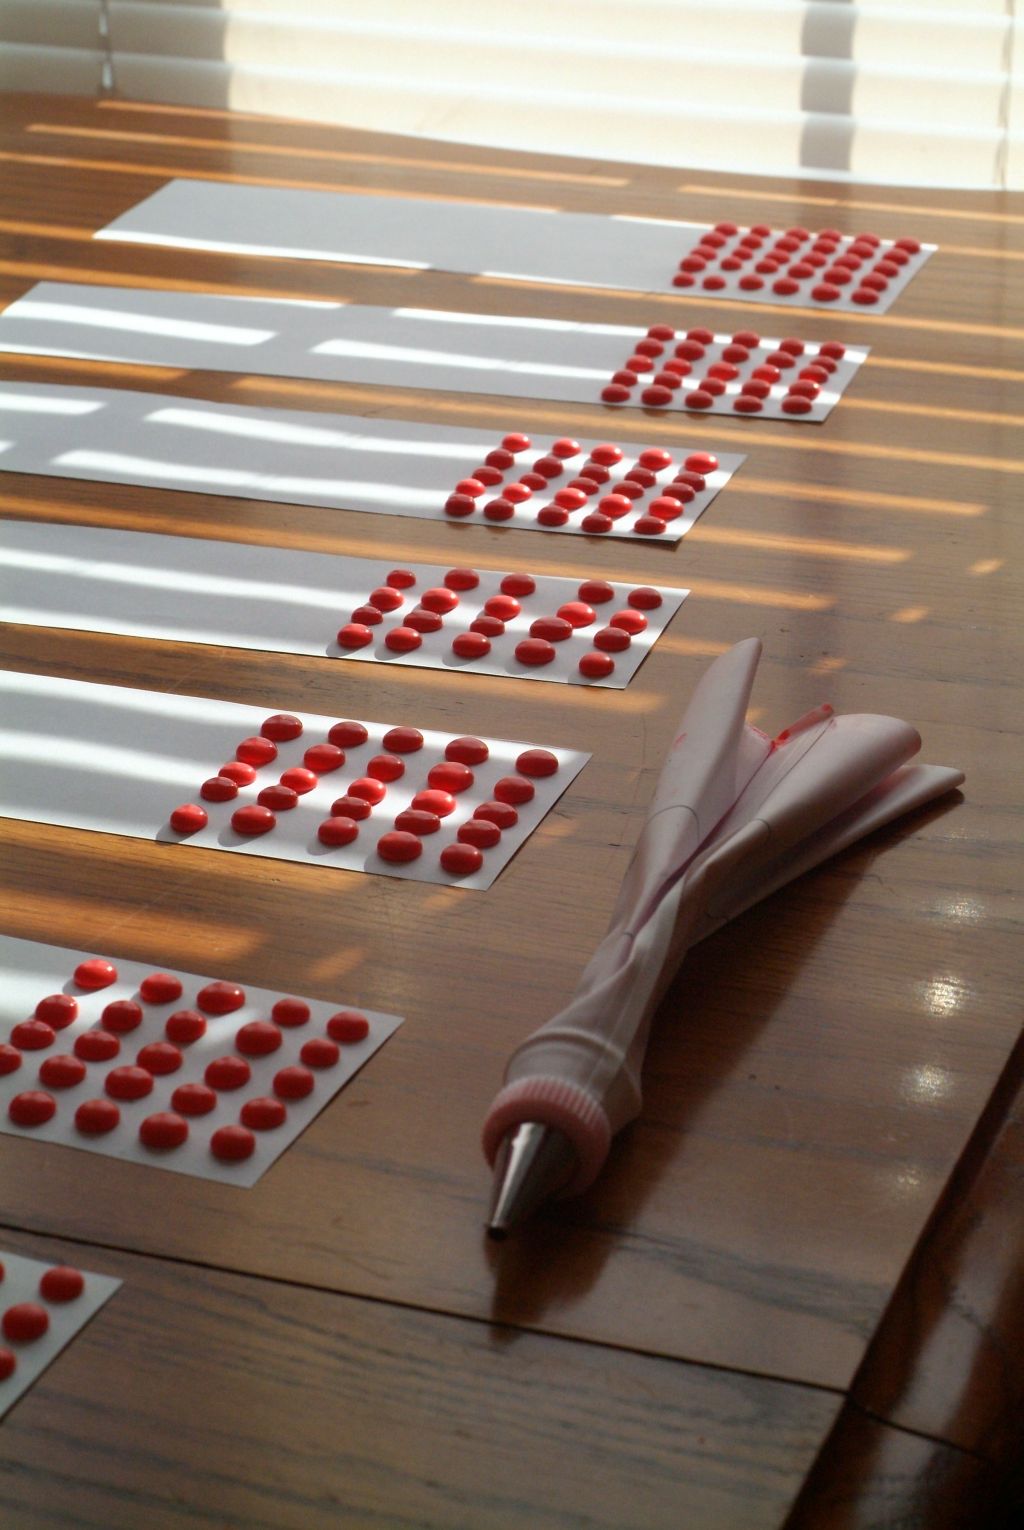
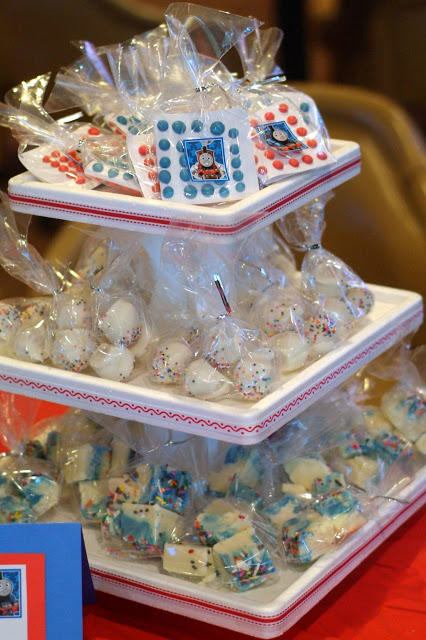
Since I'm such a rebel and all, I decided to skip the allowed "cake and ice cream" for a bevy of sweets. I stacked my cupcake towers with all kinds of treats: cupcakes on one, candy buttons, sugar cookie truffles birthday cake fudge on the other.

Such. A. Rebel.

Do yourself a favor and make this. Soon. Like, now.

Ingredients
3 cups sugar
1 1/2 sticks margarine
5 oz can (2/3 cup) evaporated milk
12 oz chopped white chocolate chips
7oz jar marshmallow creme
3 or 4 Tablespoons yellow cake mix (just the powdered MIX, not batter)
1 teaspoon vanilla
Blue coloring
Rainbow sprinkles

Directions
1. Line an 8 or 9 inch square pan with foil, leaving the ends hanging over the edges of the pan. Spray foil thoroughly with nonstick spray.

2. Place the sugar, margarine, and evaporated milk in a heavy saucepan over medium heat. Bring to a full rolling boil, stirring constantly, and let boil for 4 minutes. Remove from heat.

3. Add chocolate chips, marshmallow creme, and cake mix, stirring until chocolate chips are melted. Add vanilla and mix well.

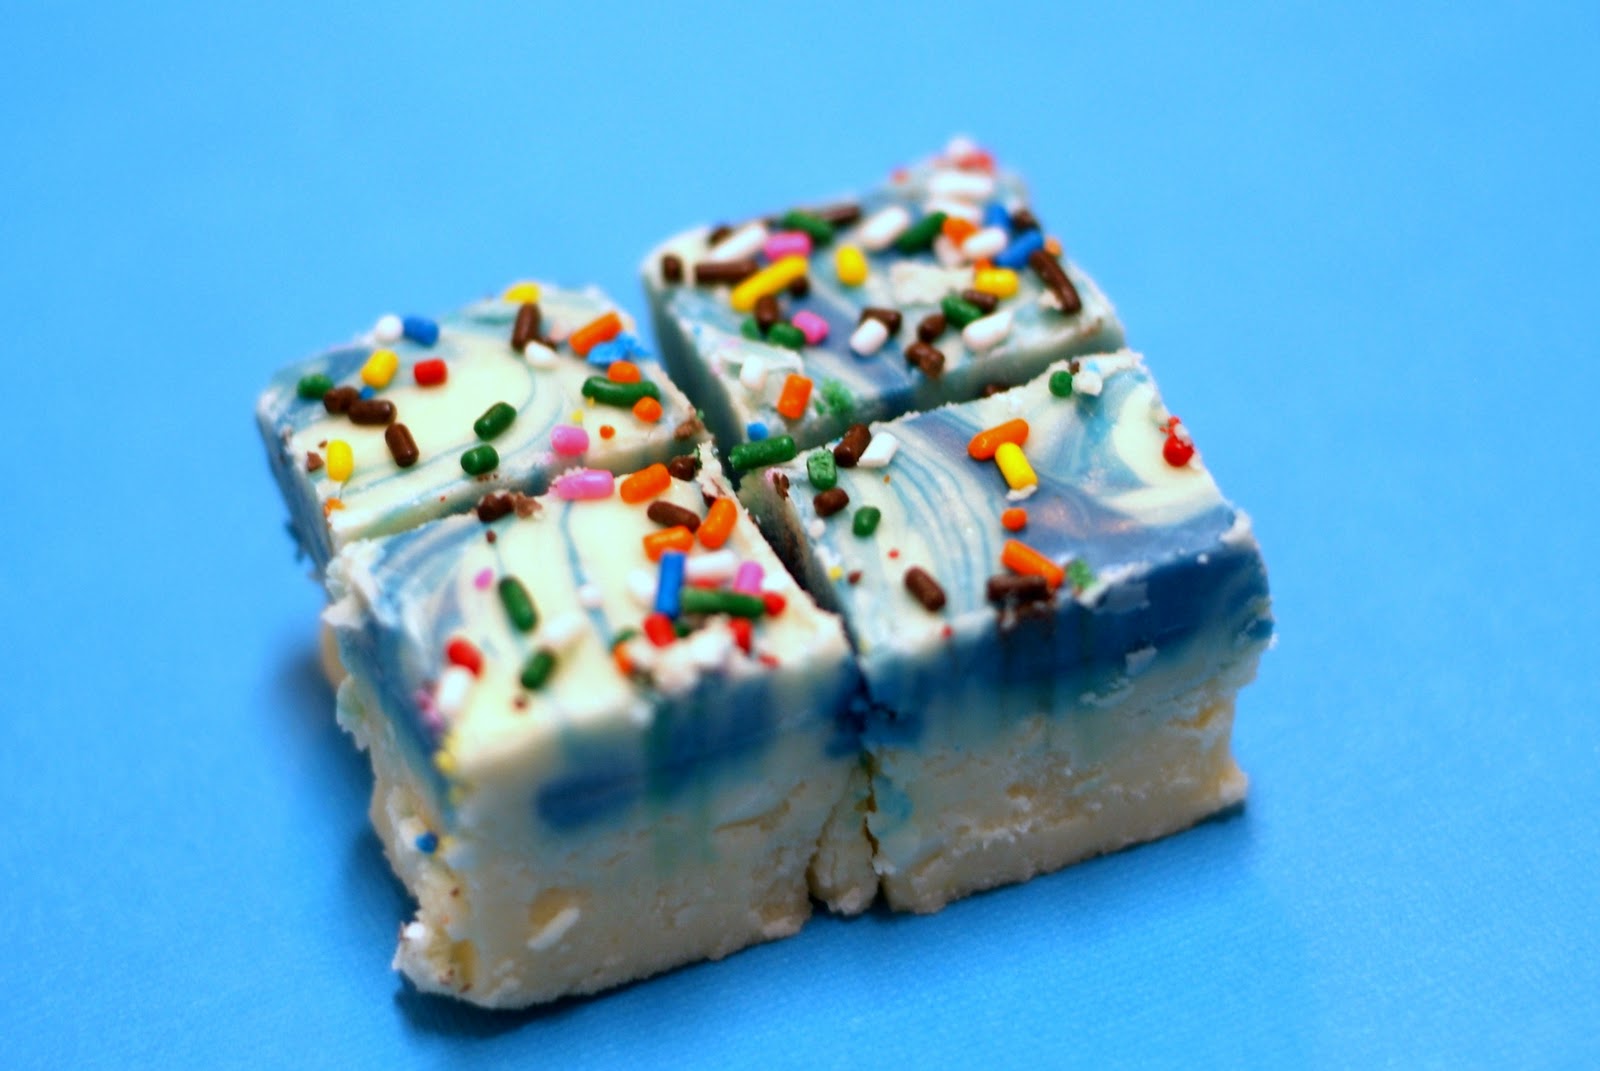
4. Working quickly, pour about 1/3 of the fudge in a bowl and add a few drops of blue candy coloring, mixing and adding until you achieve the desired shade. Pour white fudge into prepared pan, spreading evenly. Spoon blue fudge over the top, spacing it out. Using a sharp knife, draw swirls through the blue and white to create a marbled effect. Sprinkle the top generously with rainbow sprinkles before the top sets up.

5. Let store at room temperature until cool, then place in the refrigerator until firm.
Recipe via Confessions Of A Cookbook Queen


I'm linking up to these Rockin' Parties
Show Me What Ya Got at Not Just A Housewife
Letting the Tuesday Creative Juices Flow at These Creative Juices
Anything Related Tuesday at All Thingz Related
Cheap Thrills Thursday at Black Cat Designs

2.04.2011

Join Me!

Stuck inside? Counting the days until Spring?
Do you have the winter blues?

Good news! Today you can find me guest posting over at Momnivores Dilemma as part of her Beat The Winter Blues party.
I was lucky enough to be asked to guest post for the theme day of "Indulge Your Sweet Tooth."
Right up my alley, right??


Photobucket


There is a link party there, so come link up YOUR favorite sweets!
And make sure to tell her I sent ya', it'll make me look good ;) Come oooooon Groupies! It's my first Guest Spot!!


2.03.2011

Lazy Link Party

A couple nights ago, I came up with an idea to host a "Lazy Link Party" for my Facebook Fans.

Head on over to my fan page and look for my latest wall post. Then, just choose a favorite post of your own and comment with the title and post address. Link up anything you like! And be sure to visit some other pages and say hello.

Lazy and fun, right?


2.02.2011

Candy Buttons


This is the first treat from Jack's party I want to share with you guys. This is by FAR the easiest thing you will ever make! They tasted like the real thing, and you can make them in any color you like.

Ingredients
3 cups confectioners' sugar
2 egg whites
White Paper (I used computer paper)
Food coloring

Directions
1. Cut white paper into twenty four 2-by-11-inch strips. Using a mixer, beat the confectioners’ sugar and egg white until thick and smooth, about 5 minutes. Divide the icing into small bowls. Stir the food coloring into your bowls, covering any colors you aren't using first with plastic wrap.

2. Lay the paper strips side by side on a work surface. Pipe out the icing onto the paper strips in dots, about 1/3 inch apart in even rows. (If you don't have a decorators bag and tip, just use a plastic baggie and cut off a small part of the corner.)

3. Let the dots sit at room temperature until hardened, 12 hours or overnight.
adapted recipe from Rachel Ray


I'm linking to these Rockin' Parties
Hoo's Got Talent at Night Owl Crafting
Strut Your Stuff at Somewhat Simple
Show Off Your Stuff at Fireflies and Jellybeans
Thrilling Thursday at Paisley Passions
Cheap Thrills Thursday at Black Cat Designs
I'm Lovin It at Tidy Mom
Friday Favorites at Simply Sweet Home
Fantabulous Friday at Momma's Kinda Crafty
Fun With Food Friday at Paisley Passions
Weekend Wrap-Up at Tatertots and Jello
Saturday Soiree at A Little Lovely
Sunday Showcase at Under The Table and Dreaming
Strut Your Stuff at Saturday Mornings
Sister Sister Sunday at Kuzak's Closet
Making Monday Marvelous at C.R.A.F.T.
Just Something I Whipped Up at The Girl Creative
Craft O Maniac Monday at Craft-O-Maniac
Market Yourself Monday at Sumos Sweet Stuff
Your So Very Creative at Me Making Do
Made By You Monday at Skip To My Lou
Motivate Me Monday at Keeping It Simple
Show Me What Ya Got at Not Just A Housewife
Letting the Tuesday Creative Jucies Flow at These Creative Juices
Related Posts Plugin for WordPress, Blogger...