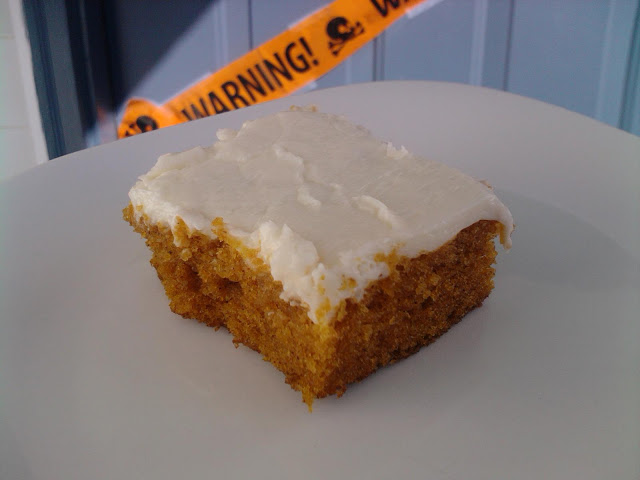
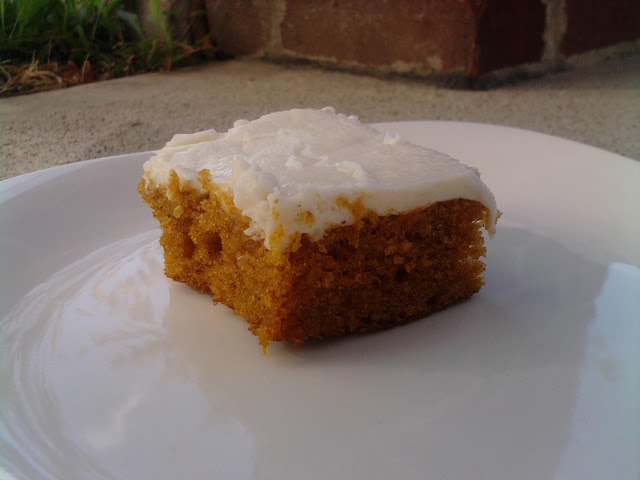
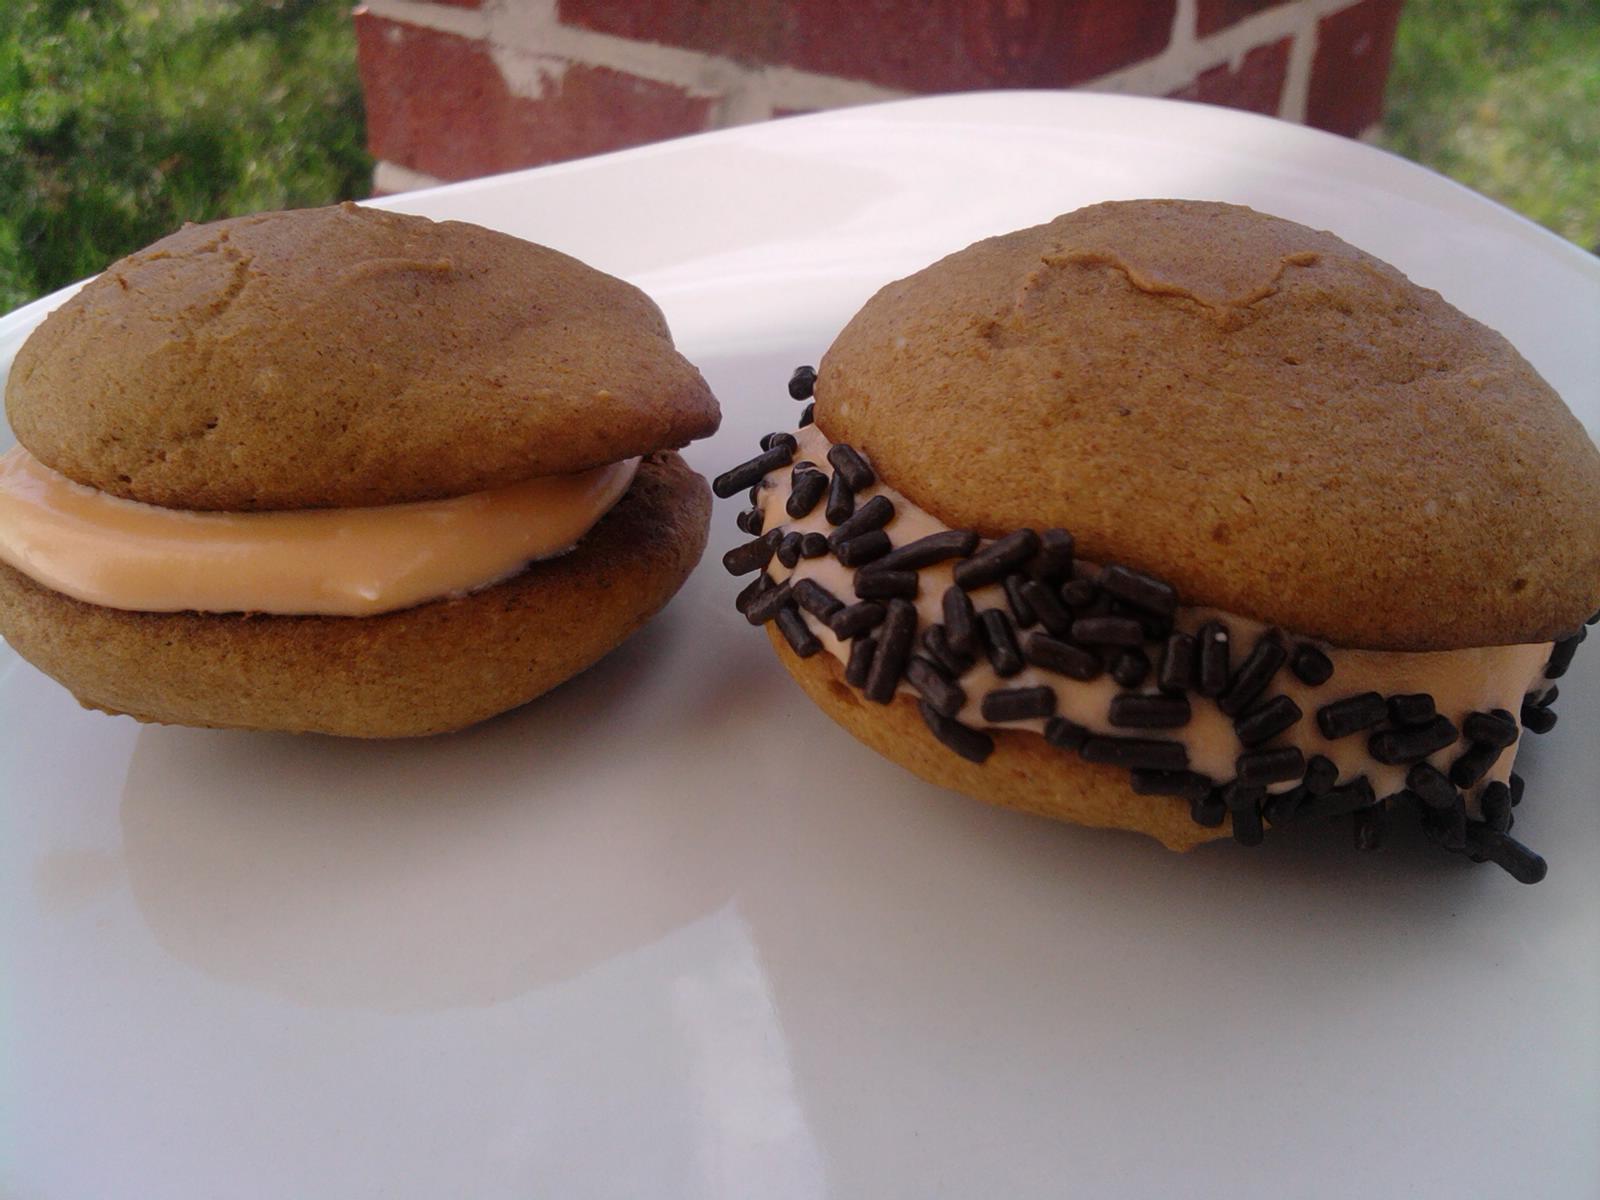
with Orange Cream Cheese Filling.
I saw these over at
Confessions Of A Cookbook Queen and knew I had to make them as soon as possible. As luck would have it, my sister in law had everyone over for a cook out a couple weekends ago. Perfect excuse! It is an unspoken commitment now that I bring dessert to family functions, much to their delight. My brother and law said these were his favorite of the cookies I've made.
My ONLY issue with the recipe is that my filling seemed a bit runny. When I make them again, Ill have to figure out how to fix that. If you make them, let me know how yours came out!
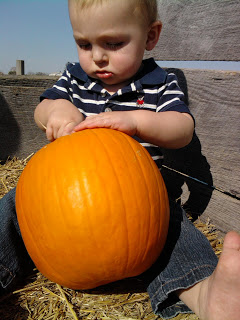
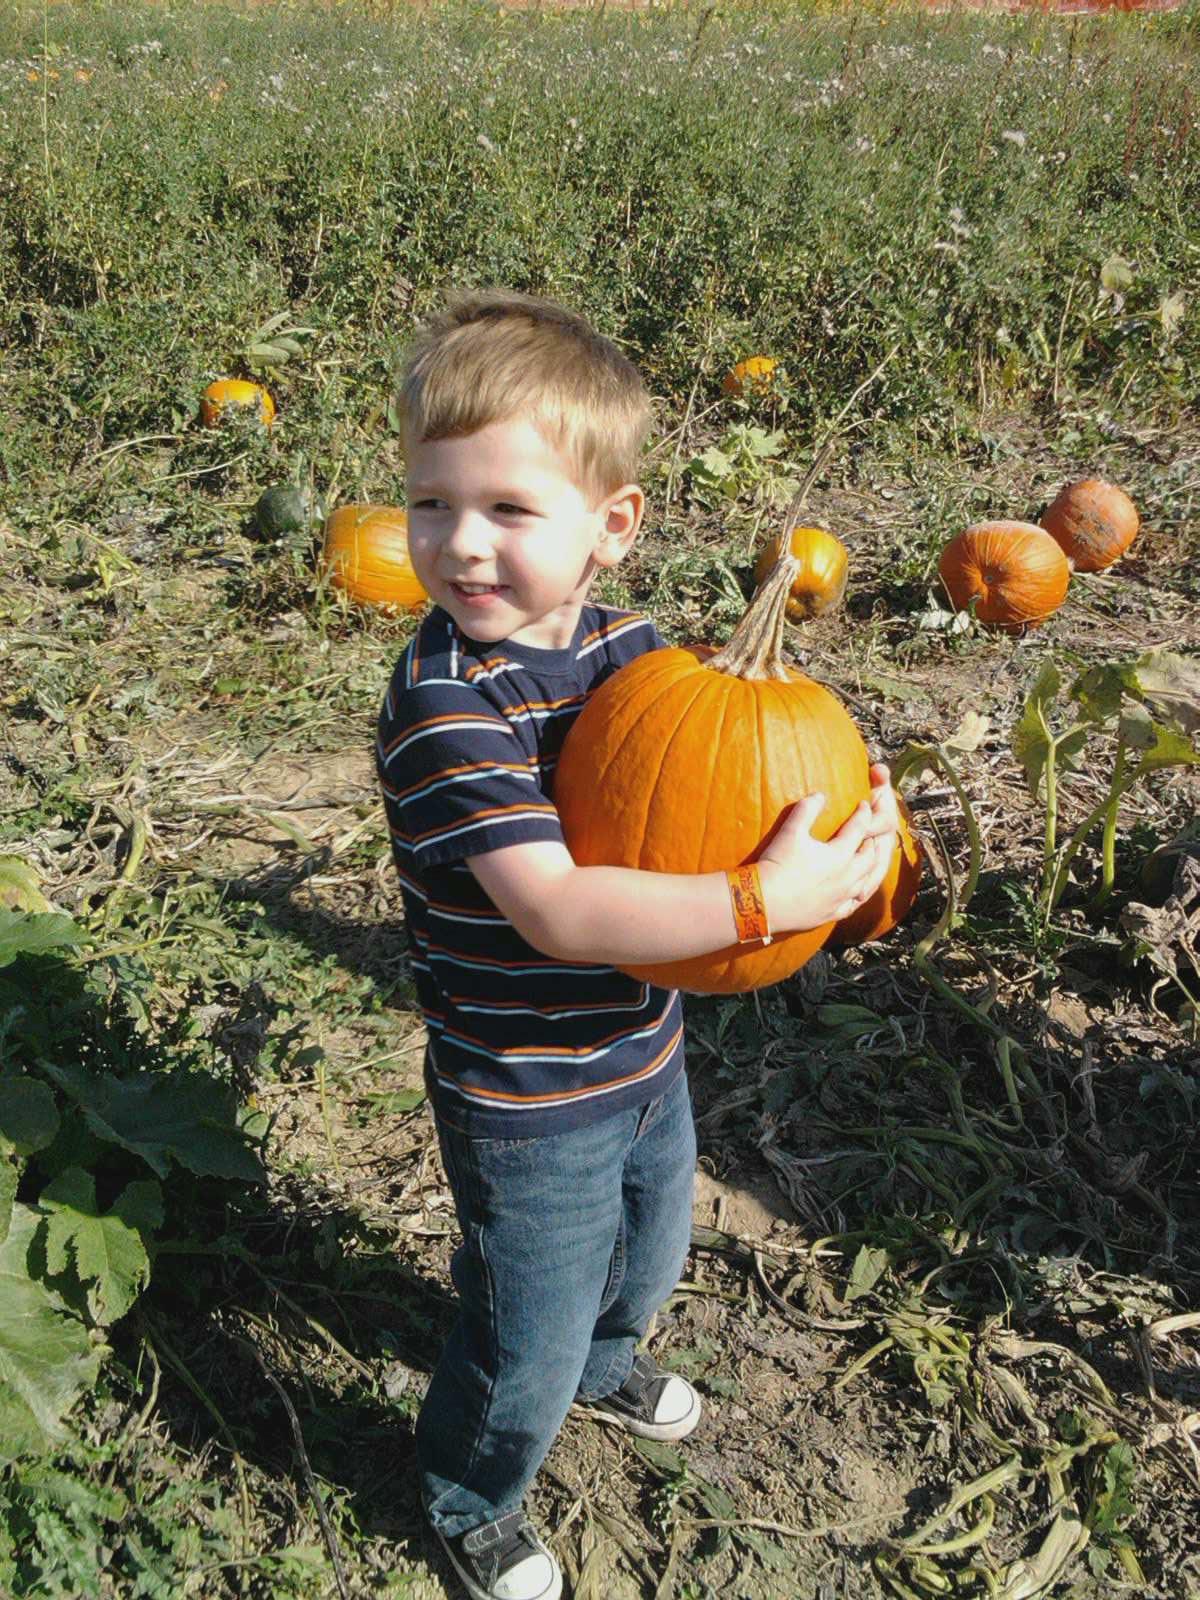
Now go hunt down some pumpkin and make these yourself!
Ingredients:
Cookie
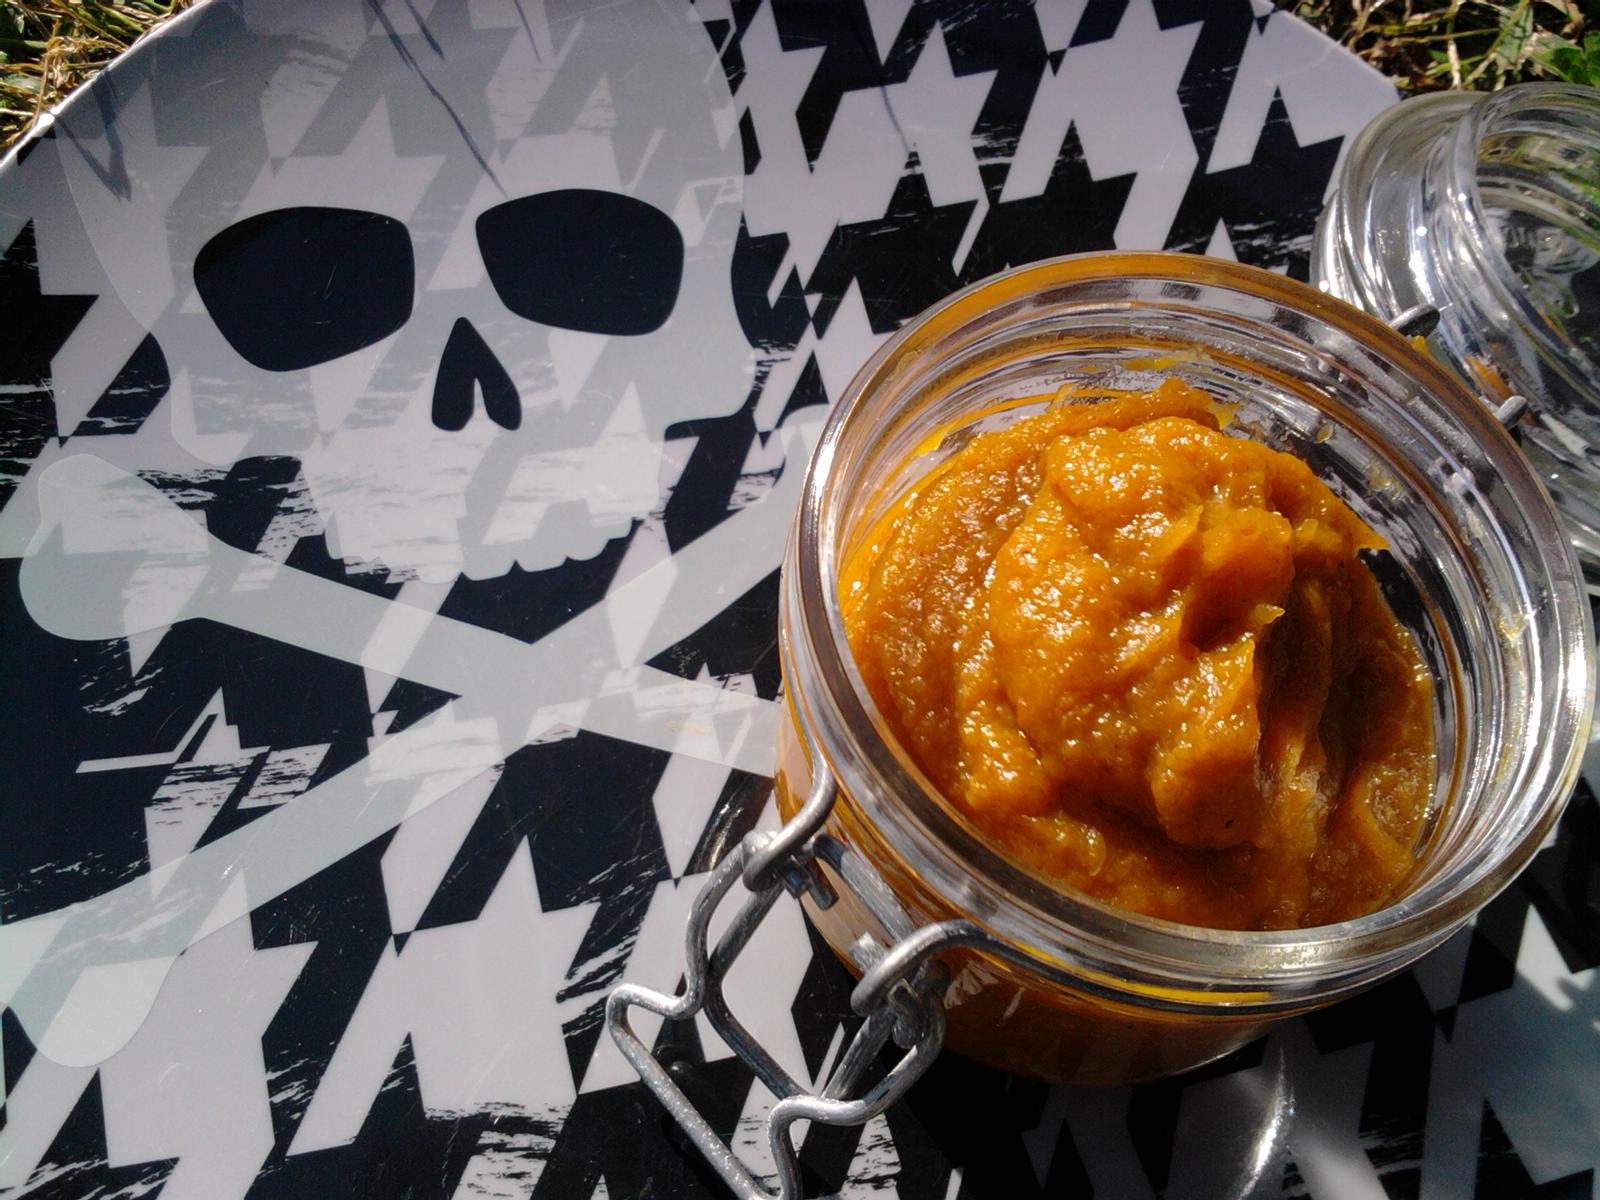
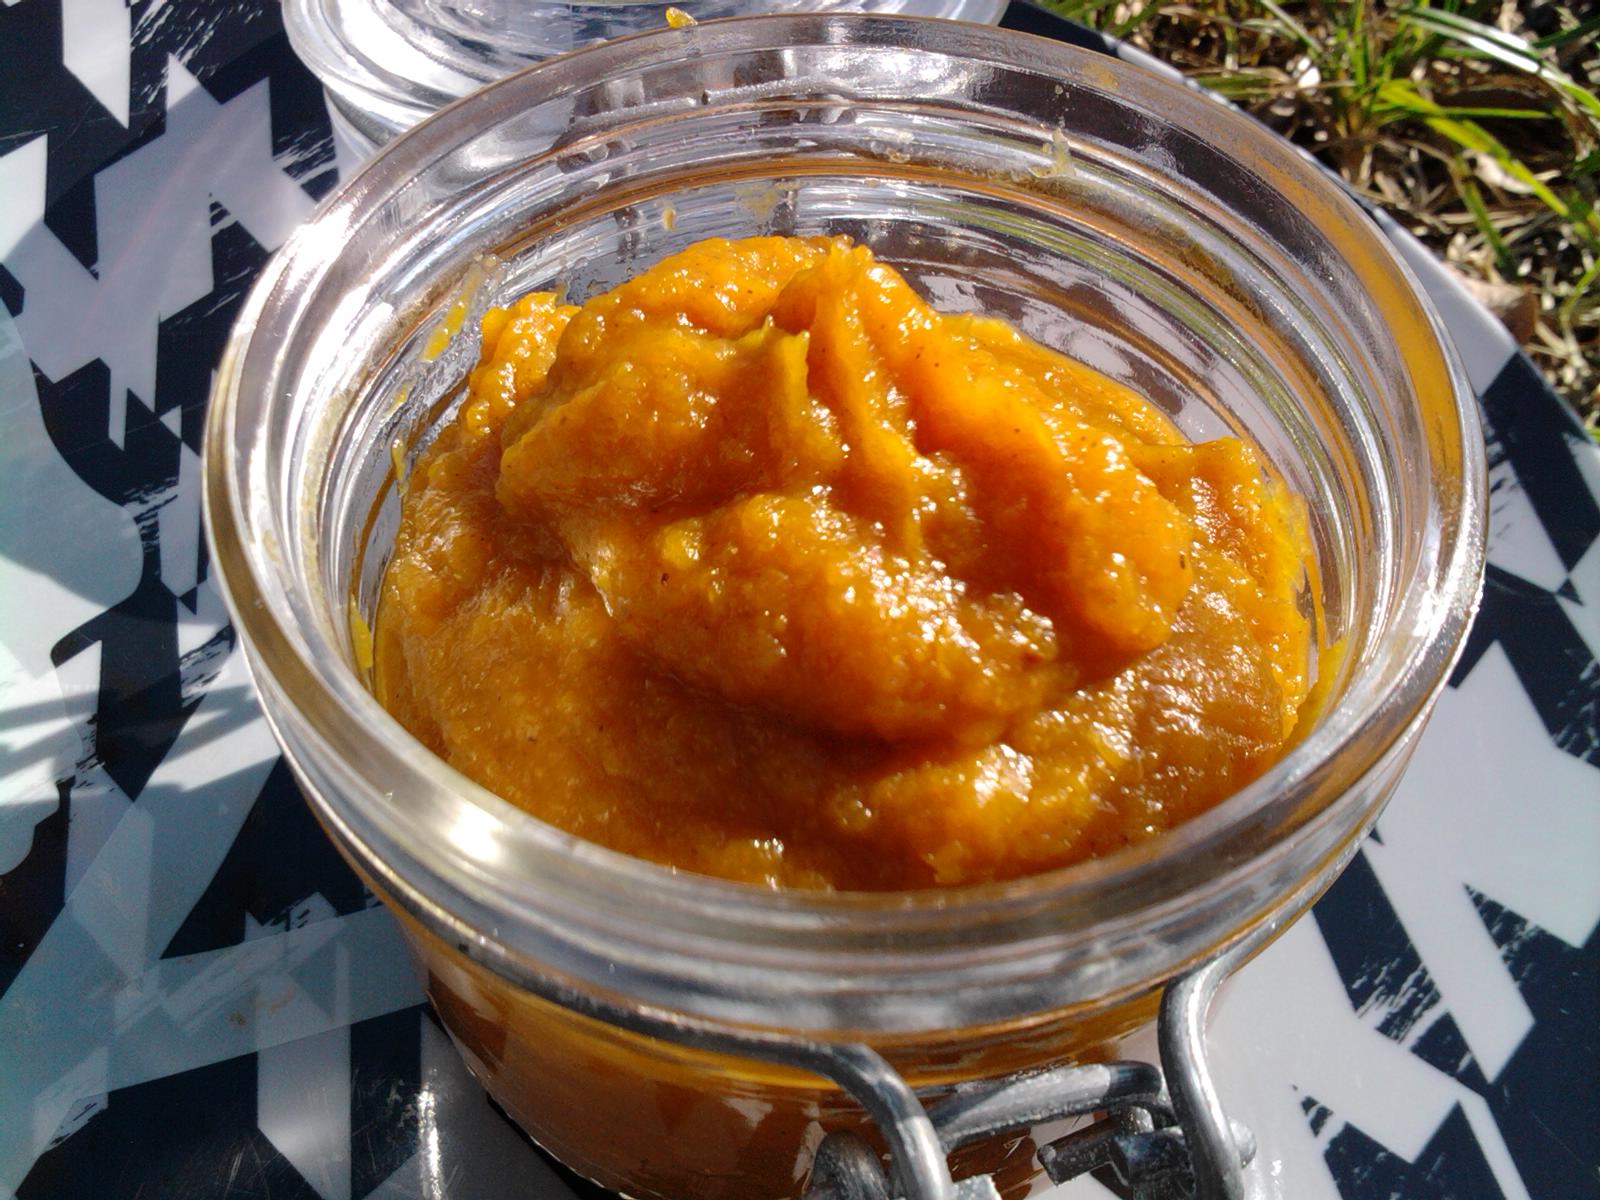
1/2 can of pumpkin
1/3 cup softened butter
2 eggs
1 package spice cake mix
1/2 cup milk
Parchment paper
Orange food coloring
Sprinkles
Filling
(adapted from allrecipes.com)
6 oz cream cheese, softened
4 Tablespoons butter, softened
5 Tablespoons orange juice
5 cups powdered sugar
Directions:
1. Preheat oven to 375. In a large bowl, beat the pumpkin and butter on medium speed until smooth. Add cake mix, eggs, and milk and beat on low until combined, about one minute.
2. Spoon batter onto a parchment lined baking sheet, about 3 inches apart.
Bake until edges are lightly browned (about 15 minutes).
3. Cool 1 minute in pans then move to racks to finish cooling.
4. Beat cream cheese, butter, food coloring and orange juice until creamy. Slowly beat in powdered sugar and beat on high for 2 minutes.
5. Spread filling on flat sides of cookies and press together.
I'm linking to these awesome parties =)